Welcome to the Singer Handheld Sewing Machine Manual, your essential guide to mastering this portable sewing solution․ This manual provides comprehensive instructions for setup, operation, and maintenance, ensuring optimal performance for both beginners and experienced users․
1․1 Overview of the Singer Handheld Sewing Machine
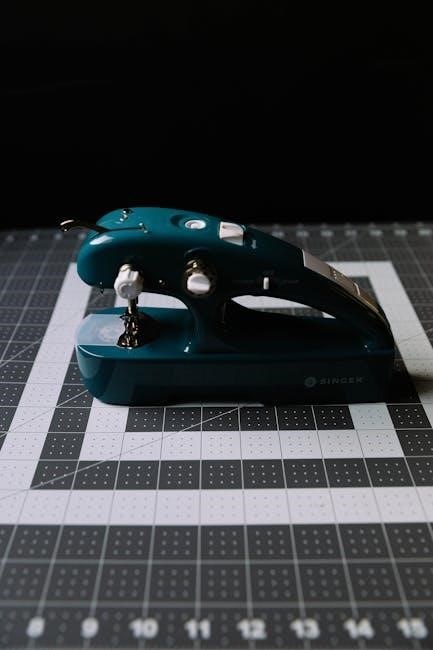
The Singer Handheld Sewing Machine is a portable, versatile sewing solution designed for convenience and ease of use․ Perfect for both beginners and experienced sewists, it offers a compact design that allows for sewing on-the-go․ With its lightweight construction and user-friendly interface, this machine is ideal for small to medium-sized projects, such as repairing clothes, sewing curtains, or crafting home decor․ It features adjustable stitch length and tension, enabling precise control over various fabrics․ The machine typically operates on batteries or a power adapter, making it suitable for both indoor and outdoor use․ Accessories like extra needles, threads, and carrying cases are often included to enhance functionality․ This overview highlights the machine’s key benefits, making it a practical tool for DIY enthusiasts and professionals alike․
1․2 Importance of the Manual for Proper Operation
The Singer Handheld Sewing Machine Manual is an indispensable resource for ensuring proper operation and maximizing the machine’s potential․ It provides detailed instructions for setting up, maintaining, and troubleshooting, helping users avoid common mistakes․ The manual outlines essential steps like threading, adjusting stitch length, and tension, which are critical for achieving professional results․ Additionally, it covers safety guidelines and maintenance tips to prolong the machine’s lifespan; Whether you’re a beginner or an experienced user, the manual serves as a roadmap to understanding the machine’s features and capabilities fully․ By following the guidelines, users can ensure efficient and safe operation, making it a vital companion for all sewing projects․
Understanding the Singer Handheld Sewing Machine
The Singer Handheld Sewing Machine is a portable, user-friendly device designed for sewing on-the-go․ Its compact design and lightweight construction make it ideal for small repairs and creative projects․ Built for versatility, it handles various fabrics with ease, offering a convenient solution for both beginners and experienced sewers․ The machine’s ergonomic design ensures comfort during use, while its straightforward controls simplify the sewing process․ Whether for quick fixes or crafting, this handheld sewing machine is a practical tool for any sewing enthusiast․

2․1 Key Features of the Singer Handheld Sewing Machine
The Singer Handheld Sewing Machine is equipped with a range of features that enhance its functionality and user experience․ Designed for portability, it is lightweight and compact, making it easy to carry and use anywhere․ The machine is battery-powered, eliminating the need for cords and providing greater convenience․ It includes an automatic threading mechanism, simplifying the setup process for users․ The machine also offers adjustable stitch length and tension controls, allowing for customization based on the type of fabric being sewn․ Additionally, it comes with a built-in LED light to illuminate the sewing area, improving visibility․ The ergonomic design ensures comfortable handling during extended use․ These features make the Singer Handheld Sewing Machine a versatile and practical tool for various sewing tasks, from quick repairs to small-scale projects․
2․2 Components and Parts of the Machine
The Singer Handheld Sewing Machine comprises several essential components designed for efficient operation․ The sewing head houses the needle and bobbin mechanism, while the power switch activates the motor․ The spool pin holds the thread, and the tension dial adjusts thread tightness․ The stitch length control allows customization of stitch size․ An LED light illuminates the sewing area for better visibility․ The battery compartment powers the machine, and an extension cord or adapter may be included for alternative power․ Additional accessories like extra needles, bobbins, and a carrying case enhance convenience․ Each part is designed to ensure smooth functionality and portability, making the machine ideal for various sewing tasks․
2․3 Intended Use and Applications
The Singer Handheld Sewing Machine is designed for quick and easy sewing tasks, making it ideal for small repairs, alterations, and crafting projects․ Its portability and compact design allow for use on-the-go, perfect for sewing enthusiasts and DIY enthusiasts alike․ The machine is suitable for lightweight fabrics such as cotton, polyester, and silk, as well as thin layers of denim or canvas․ It excels at straight stitching, making it great for hemming clothes, repairing tears, or sewing small patches․ Additionally, it can be used for crafting projects like making bags, accessories, or decorative items․ The machine’s ease of use and versatility make it a valuable tool for both beginners and experienced sewists, offering a convenient solution for a variety of sewing needs without the bulk of a full-sized machine․
Setting Up the Singer Handheld Sewing Machine
Setting up your Singer Handheld Sewing Machine involves unpacking, installing batteries, and threading the machine properly․ This ensures it’s ready for seamless operation and optimal performance․
3․1 Unpacking and Preparing the Machine
Unboxing your Singer Handheld Sewing Machine is an exciting first step․ Carefully open the package and ensure all components are included, such as the machine, batteries, threading guide, and instruction manual․ Inspect the device for any visible damage․ Before use, wipe the machine with a soft cloth to remove any dust or packaging residue․ Familiarize yourself with the machine’s parts, such as the needle, spool pin, and power switch․ If your model requires batteries, install them as specified in the manual; Finally, thread the machine according to the instructions provided․ Proper preparation ensures smooth operation and extends the machine’s lifespan․ Take your time to align everything correctly before proceeding to sewing․
3․2 Installing Batteries or Power Sources
Properly installing batteries or connecting a power source is crucial for your Singer Handheld Sewing Machine to function․ Start by locating the battery compartment, usually found at the base or side of the machine․ Open it gently and insert the required number of batteries (typically 4 AA) as indicated in the manual․ Ensure the batteries are aligned correctly, with the positive and negative terminals facing the right direction․ Close the compartment securely․ If your machine uses a power adapter, plug it into a compatible outlet․ Always use the recommended battery type or voltage to avoid damage․ Turn on the machine to test its operation․ Refer to your manual for specific instructions, as some models may vary․ Proper installation ensures reliable performance and extends the machine’s lifespan․
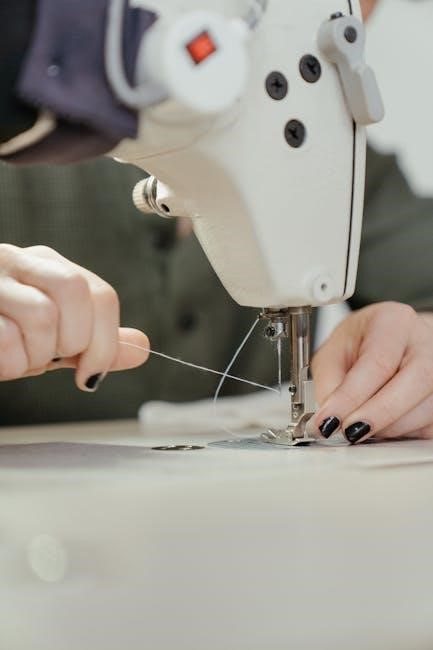
3․3 Threading the Machine
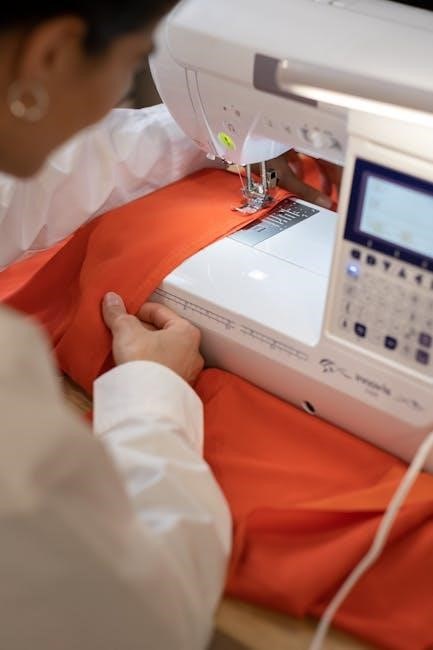
Threading your Singer Handheld Sewing Machine is a straightforward process that ensures smooth stitching․ Begin by locating the spool pin and thread guide․ Gently pull the thread from the spool and insert it through the machine’s tension dial, following the arrows indicated on the device․ Next, pass the thread through the take-up lever and finally through the needle eye․ Hold the fabric taut to ensure the thread is properly seated․ If your machine has an automatic threading feature, follow the specific instructions provided in the manual․ For manual threading, be patient and ensure no twists or tangles are present․ Proper threading is essential for consistent stitch quality and machine performance․ Always refer to your Singer Handheld Sewing Machine manual for model-specific guidance․ This step is crucial for achieving professional-looking results in your sewing projects․

Operating the Singer Handheld Sewing Machine
Operating the Singer Handheld Sewing Machine is straightforward, offering versatility for various sewing tasks․ Familiarize yourself with controls, start sewing, and adjust settings as needed for optimal results․
4․1 Basic Sewing Techniques
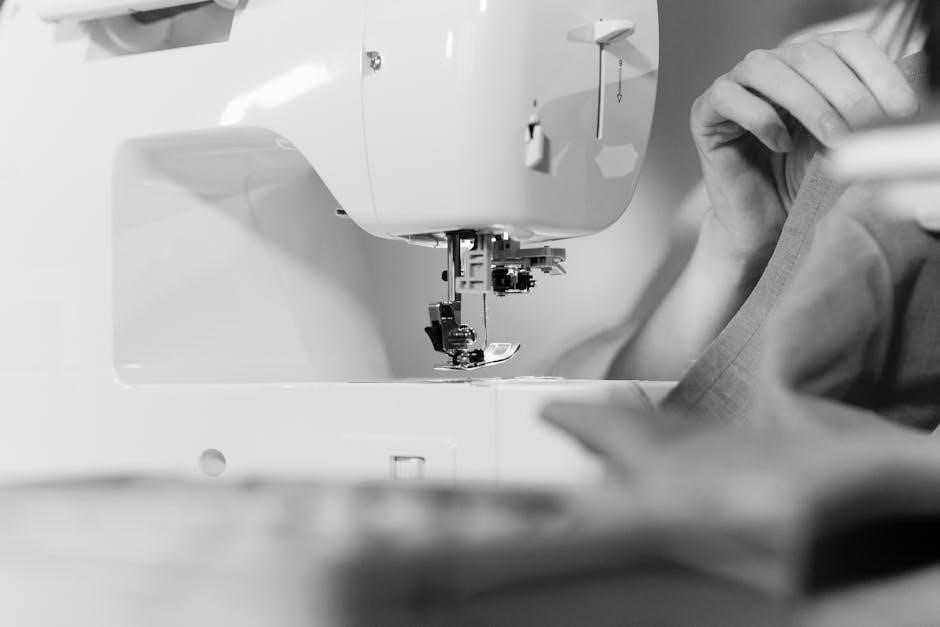
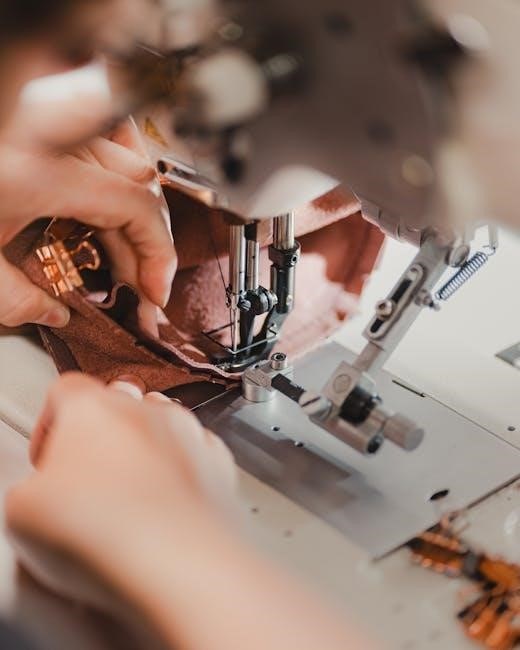
Mastering basic sewing techniques with the Singer Handheld Sewing Machine ensures smooth and efficient stitching․ Begin by threading the machine correctly, as outlined in the manual, and ensuring the tension is balanced․ Place the fabric under the needle, aligning the edge with the guide․ Gently press the sewing lever or button to start stitching․ For straight lines, maintain steady movement․ To backstitch, reverse the fabric slightly before continuing․ Practice on scrap fabric to perfect your technique․ Always use the appropriate needle type and thread for the fabric․ Keep the work area well-lit and clear of obstructions․ These foundational skills will help you achieve professional-looking results and build confidence in your sewing abilities․
4․2 Adjusting Stitch Length and Tension
Adjusting the stitch length and tension on your Singer Handheld Sewing Machine is crucial for achieving the desired seam quality․ To modify the stitch length, locate the adjustment dial on the machine and turn it clockwise for shorter stitches or counterclockwise for longer ones․ For tension, refer to the manual to identify the tension knob, typically located near the spool or bobbin area․ Turning the knob clockwise increases tension, while counterclockwise decreases it․ Proper tension ensures fabric lies flat without puckering or sagging․ Always test adjustments on scrap fabric before sewing your final project․ Incorrect tension can lead to uneven stitching or fabric damage․ If stitches are too loose or tight, re-adjust the tension and stitch length accordingly․ This customization allows you to tailor the machine’s performance to various fabrics and sewing tasks, ensuring professional-looking results every time․
4․3 Sewing Different Fabrics and Materials
The Singer Handheld Sewing Machine is versatile for various fabrics and materials․ For lightweight fabrics like cotton or silk, use a standard sewing needle and medium tension․ Heavier fabrics, such as denim or canvas, require a heavier-duty needle and increased stitch length․ Always choose the appropriate thread type to match your fabric for consistent results․
To sew delicate materials, reduce stitch length and tension to prevent tearing․ For stretchy fabrics, consider using a zigzag stitch or adjusting the machine’s settings for elastic materials․ Testing on scrap fabric before sewing ensures the best results․
By adjusting stitch length, tension, and needle type, you can effortlessly work with a wide range of fabrics, from thin chiffon to thick upholstery, making the Singer Handheld Sewing Machine suitable for diverse sewing projects․
Maintenance and Troubleshooting
Regular maintenance ensures optimal performance․ Clean the machine after use, lubricate moving parts, and check for thread jams․ Troubleshoot common issues like uneven stitches or motor issues promptly․ Always refer to the manual for solutions or contact Singer support for complex problems․
5․1 Cleaning and Lubricating the Machine
Regular cleaning and lubrication are crucial for maintaining the performance and longevity of your Singer Handheld Sewing Machine․ Start by turning off the machine and removing any batteries or power sources․ Use a soft, dry cloth to wipe down the exterior, paying attention to areas around the needle and bobbin․ For internal cleaning, gently brush away lint and debris using a small, dry brush․ Avoid using harsh chemicals or moisture, as they may damage the machine․ Apply a few drops of sewing machine oil to moving parts, such as the needle bar and shuttle hook, to ensure smooth operation․ Refer to the manual for specific lubrication points․ Proper maintenance will prevent jams, reduce wear, and keep your machine running efficiently for years․
5․2 Common Issues and Solutions
Like any sewing machine, the Singer Handheld Sewing Machine may encounter occasional issues․ One common problem is thread breakage, which can be resolved by checking the tension settings and ensuring the thread is properly threaded through the machine․ Fabric jams can occur if the material is not fed smoothly; simply stop the machine, remove the fabric, and restart․ Uneven stitches may result from incorrect needle size or improper threading․ Re-threading the machine or replacing the needle often fixes this․ If the machine overheats, allow it to cool down before resuming use․ For persistent issues, consult the manual or contact Singer support․ Regular maintenance, such as cleaning and lubricating, can prevent many of these problems․ Always refer to the manual for specific troubleshooting guidance tailored to your machine․
5․3 When to Contact Professional Support
If you encounter issues that cannot be resolved through basic troubleshooting, it may be necessary to contact professional support․ This includes situations where the machine experiences mechanical failure, electrical malfunctions, or persistent operational problems despite proper maintenance․ Additionally, if you are unsure about complex repairs or adjustments, seeking expert assistance is advisable to avoid further damage․ For advanced technical issues or warranty-related concerns, reaching out to Singer’s customer service or authorized service centers is recommended․ They can provide specialized guidance, repair services, or genuine replacement parts․ Remember, professional support ensures your machine is repaired safely and effectively, maintaining its performance and longevity․ Always prioritize professional help when dealing with issues beyond your expertise to ensure optimal results and prevent potential hazards․
Advanced Features and Techniques
Explore advanced features like decorative stitching, reverse sewing, and attachment usage to enhance your sewing projects․ These techniques unlock creativity and precision for skilled users․
6․1 Using Different Attachments and Accessories
The Singer Handheld Sewing Machine supports various attachments and accessories to enhance your sewing experience․ These include zipper feet, embroidery hoops, and specialized presser feet, which can be easily attached to the machine․ To use an attachment, ensure it is compatible with your machine model and follow the manual’s instructions for installation․ For example, the Singer Stitch Quick comes with a spool pin for threading, while other models may include additional accessories like carry cases or extra needles․
- Always refer to the specific accessory manual for installation guidance․
- Ensure the machine is turned off before attaching or detaching accessories․
- Using genuine Singer accessories guarantees optimal performance and safety․
Explore these accessories to expand your sewing capabilities and achieve professional-quality results․
6․2 Sewing in Reverse
The Singer Handheld Sewing Machine allows for reverse sewing, a feature that enhances control and precision․ To sew in reverse, locate the reverse stitch button on your machine and press it before starting your seam․ This function is particularly useful for securing the beginning and end of stitches, ensuring a professional finish․ For models like the Singer Stitch Quick, reverse sewing is activated by pressing and holding the stitch button while sewing․ Always refer to your specific model’s manual for exact instructions, as some machines may have slightly different methods․ Regular maintenance, such as cleaning the machine and updating accessories, ensures smooth reverse stitching․ Troubleshooting tips for reverse sewing can often be found in the manual or online resources, including step-by-step guides and YouTube tutorials․
- Use reverse stitching to reinforce seams for durability․
- Clean the machine regularly to maintain reverse stitch functionality․
- Consult the manual or online videos for model-specific instructions․
- Use the stitch selection feature to choose decorative patterns․
- Experiment with thread colors and fabric types for unique effects․
- Adjust tension settings for consistent stitching quality․
- Explore optional attachments for intricate designs․
- Handle needles and sharp objects with care․
- Keep the machine out of children’s reach․
- Store the device in a dry, secure location․
6․3 Creating Decorative Stitches
To add a personal touch to your projects, the Singer Handheld Sewing Machine offers the ability to create decorative stitches․ Depending on your model, such as the Singer Stitch Quick or Singer Handy Stitch, you can explore various stitch patterns like straight, zigzag, or even custom designs․ Start by selecting the desired stitch option using the control panel or dial․ For handheld models, some machines allow switching between stitches by adjusting the speed or using specific buttons․ Experiment with different thread colors and fabric types to enhance your designs․ To achieve consistent results, ensure the machine is properly threaded and tension is adjusted․ If your model supports attachments, consider using decorative presser feet for intricate patterns․ Always refer to your manual for model-specific instructions and tips on mastering decorative stitching techniques․ This feature is perfect for embellishing clothing, home decor, or craft projects․

Safety Precautions
Ensure safe operation by keeping loose clothing and long hair tied back․ Avoid handling sharp needles carelessly․ Keep children away while sewing․ Store the machine properly when not in use․
7․1 General Safety Guidelines
Always handle the Singer Handheld Sewing Machine with care to ensure safe and effective operation․ Keep sharp objects like needles and scissors out of reach of children․ Avoid sewing near flammable materials or in poorly ventilated areas․ Use the machine on a stable, flat surface to prevent accidental movement․ Never touch electrical components with wet hands or while standing on a damp surface․ Ensure proper lighting to avoid eye strain and maintain visibility of your work․ Avoid distractions while sewing to prevent accidents․ Store the machine in a dry, cool place when not in use․ Keep children and pets away while operating the machine․ Use only genuine Singer parts and accessories to maintain safety standards․ Regularly inspect the machine for damage and ensure all parts are securely attached before use․
7․2 Avoiding Accidents and Injuries
To prevent accidents while using the Singer Handheld Sewing Machine, always keep the work area clear of clutter and ensure good lighting․ Avoid wearing loose clothing or jewelry that could get caught in the machine․ Keep fingers away from the needle and presser foot during operation․ Never touch the needle or moving parts with bare hands․ Use the machine on a stable surface to avoid sudden movements․ Keep children and pets at a safe distance while sewing․ Regularly inspect the needle for damage and replace it if necessary․ Avoid sewing over pins, as they can cause injury or damage; If the machine malfunctions, turn it off immediately and consult the manual or contact support․ Always unplug the machine when not in use or during maintenance to prevent electrical accidents․ Proper handling and care will ensure safe and efficient sewing experiences․
7․3 Storing the Machine Safely
Proper storage of the Singer Handheld Sewing Machine is essential to maintain its functionality and longevity․ Always store the machine in its original carrying case or a protective cover to shield it from dust and damage․ Ensure the needle is in the down position and covered with the provided needle cover to prevent accidents․ Clean the machine thoroughly before storing it, as dirt or debris can attract moisture and cause damage․ Store the machine in a cool, dry place away from direct sunlight and extreme temperatures․ Avoid storing it in humid environments or areas prone to moisture․ Keep the machine out of reach of children and pets to prevent accidental damage or injury․ For extended storage, remove batteries to prevent corrosion and place silica gel packets in the storage container to absorb moisture․ This ensures the machine remains in optimal condition for future use․
Thank you for exploring the Singer Handheld Sewing Machine Manual․ This guide has equipped you with the knowledge to use, maintain, and troubleshoot your machine effectively․ Happy sewing!
8․1 Recap of Key Points
8․2 Encouragement to Practice and Explore
Now that you’ve acquainted yourself with the Singer Handheld Sewing Machine, it’s time to embrace creativity and experimentation․ Regular practice will enhance your sewing skills and confidence․ Explore various fabrics, stitches, and techniques to unlock the machine’s full potential․ Don’t hesitate to try new projects, from simple repairs to intricate designs․ Troubleshooting and maintenance are part of the learning process, and they will deepen your understanding of the machine․ Remember, sewing is not just a practical skill but also an art form․ With patience and curiosity, you can create beautiful, functional pieces that reflect your personal style․ Keep experimenting, and enjoy the journey of mastering your Singer Handheld Sewing Machine!